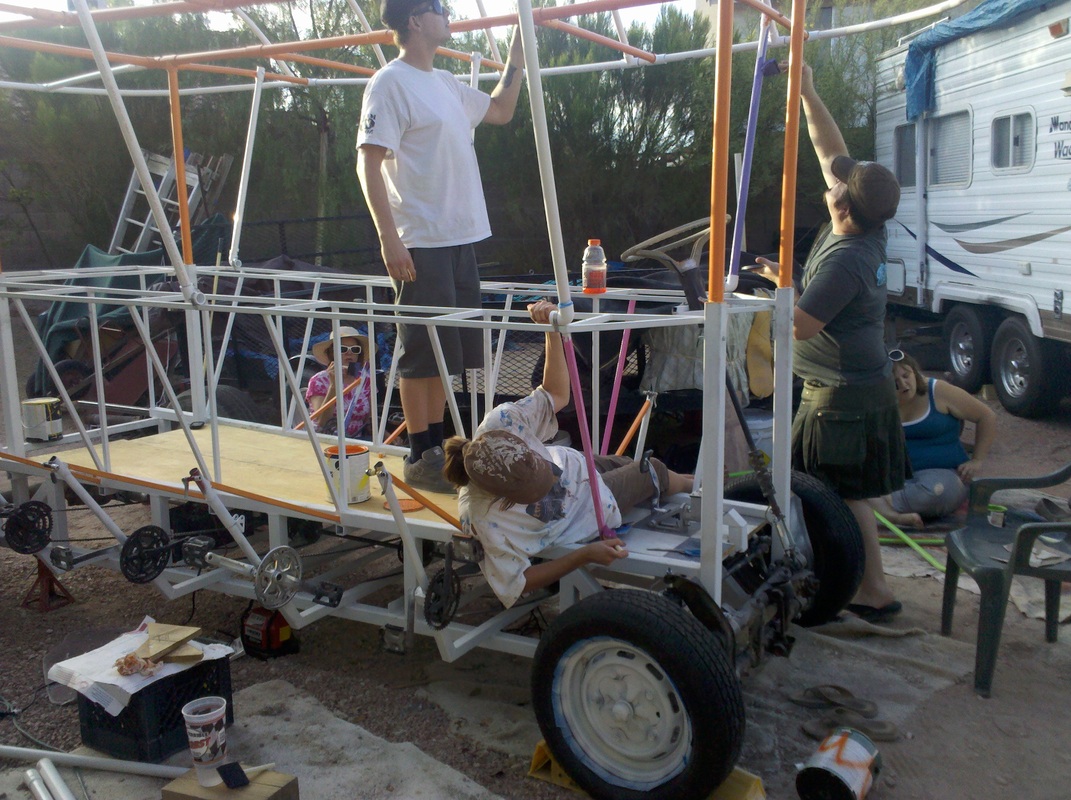
Canopy
This is the beginning of the canopy frame. We used 2" PCV pipe for this part, cutting and gluing in couplings, Tees and four-ways, so we could add connectors to the outer frame that holds up the canopy. The uprights were just slid down into the steel uprights. We drilled holes and secured it with bolts.
By itself it is not very strong, sagging a little under its own weight, but with other struts it easily withstood the playa windstorms.
By itself it is not very strong, sagging a little under its own weight, but with other struts it easily withstood the playa windstorms.
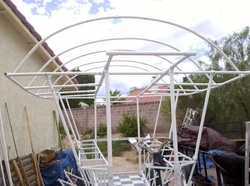
Canopy outriggers
Here we have added the outriggers and part of the outer hoop. The real strength is in those lateral supports coming up from the bar.
Since we couldn't transport this thing assembled (finished canopy is ten feet wide) we made it so it was (kinda) easy to disassemble and reassemble. If you click on the pic and look close, we used telescoping sections of PVC (1 1/2" into short pieces of 1 3/4" at the inside) and drilled and pinned them with bolts and nuts. This enables us to take the canopy apart in four sections, and then we pull out the inner box frame from the steel posts. See our transpot section for photo of that).
Since we couldn't transport this thing assembled (finished canopy is ten feet wide) we made it so it was (kinda) easy to disassemble and reassemble. If you click on the pic and look close, we used telescoping sections of PVC (1 1/2" into short pieces of 1 3/4" at the inside) and drilled and pinned them with bolts and nuts. This enables us to take the canopy apart in four sections, and then we pull out the inner box frame from the steel posts. See our transpot section for photo of that).
Canopy fabric
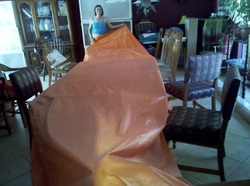
Meanwhile, Holly is also sewing the fabric. If it looks familiar, its because she recycled it from the decommissioned Hookah art car (pic on first page). I love Ebay. This is orange rip-stop parachute nylon from England. She put a long drawstring all the way around the perimeter (with a couple openings for pull-points) so we can pull it snug and tighten it down around the canopy frame.
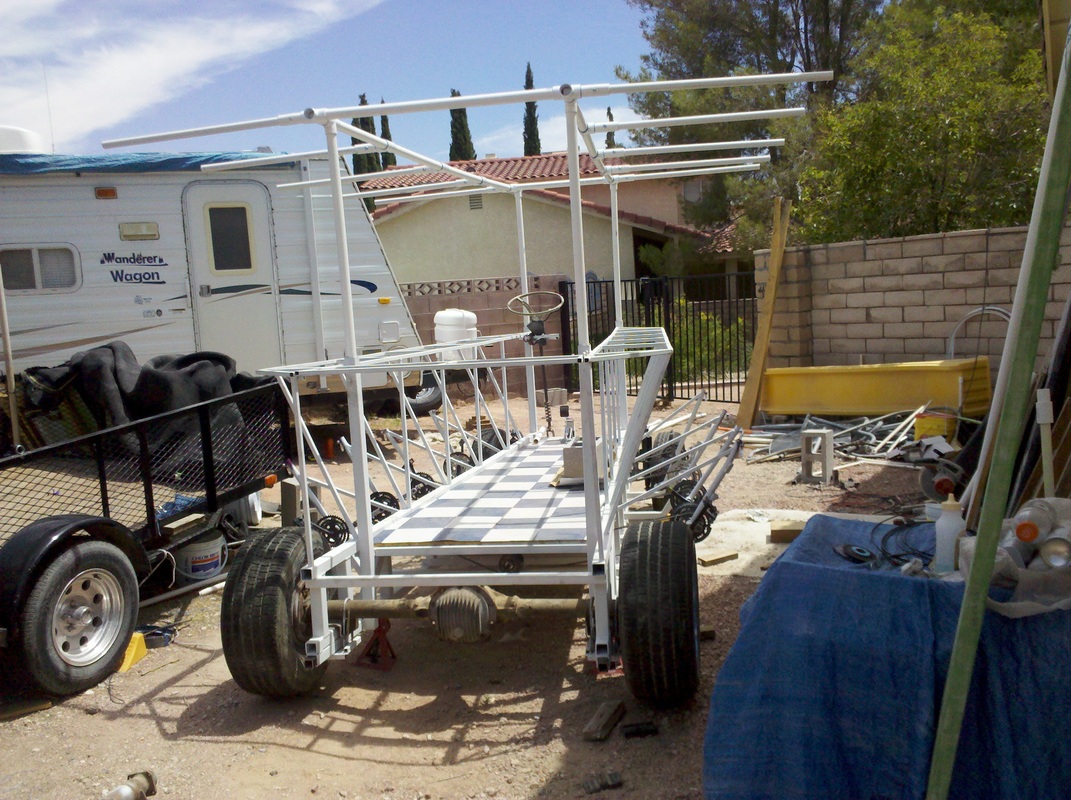
Done! (almost)
The ribs were heated and bent as described back in the design section, and stuck in the tees in the outer frame.
Labeling everything as much as possible before taking it apart is a good thing...
Labeling everything as much as possible before taking it apart is a good thing...
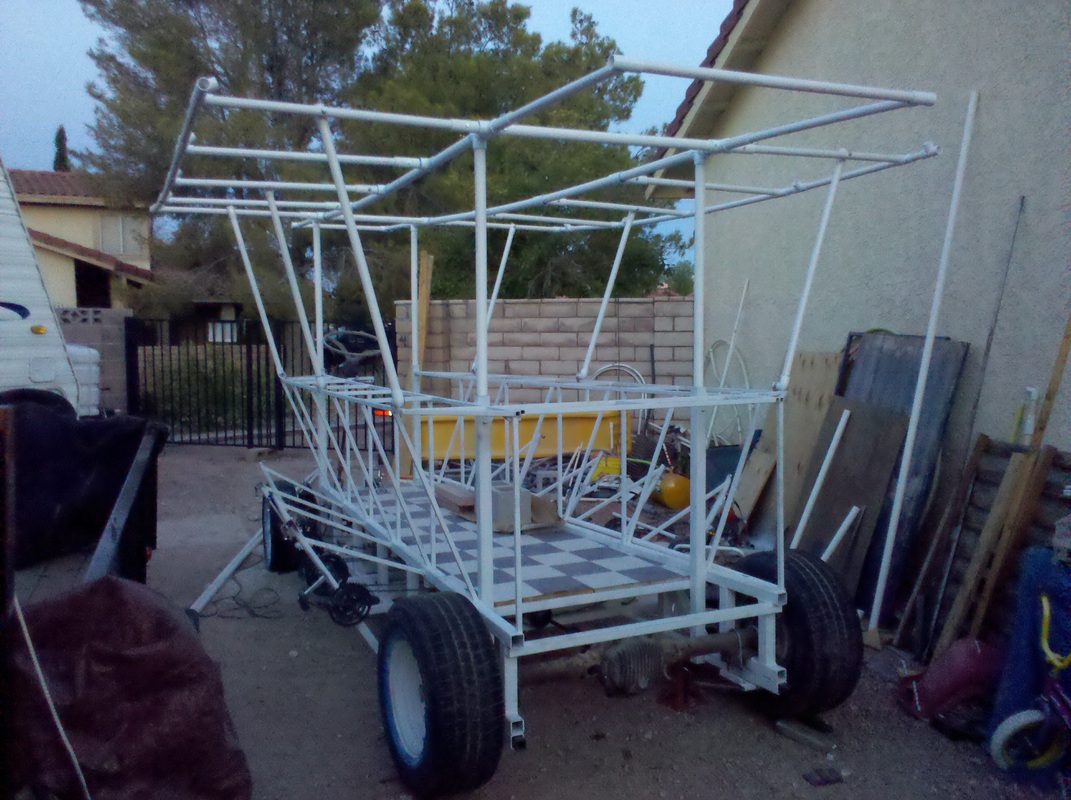
Done! (pretty much...)
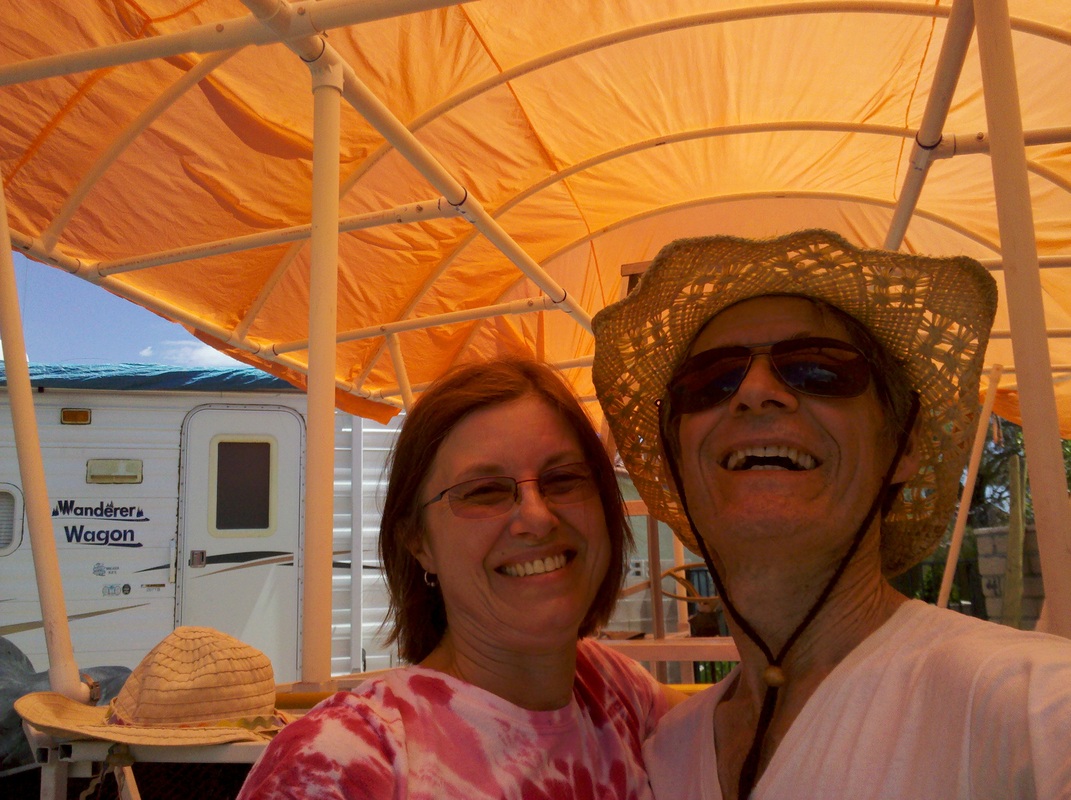
Unfortunately you have to look at me, but if you look past Holly & I, here this picture gives good closeups of how I joined the pub canopy frame together.
Not shown here but kinda visible below, we ran a piece of 3/4" PVC down the inside of the canopy ribs (drilled & bolted) as one final stabilizer.
Not shown here but kinda visible below, we ran a piece of 3/4" PVC down the inside of the canopy ribs (drilled & bolted) as one final stabilizer.
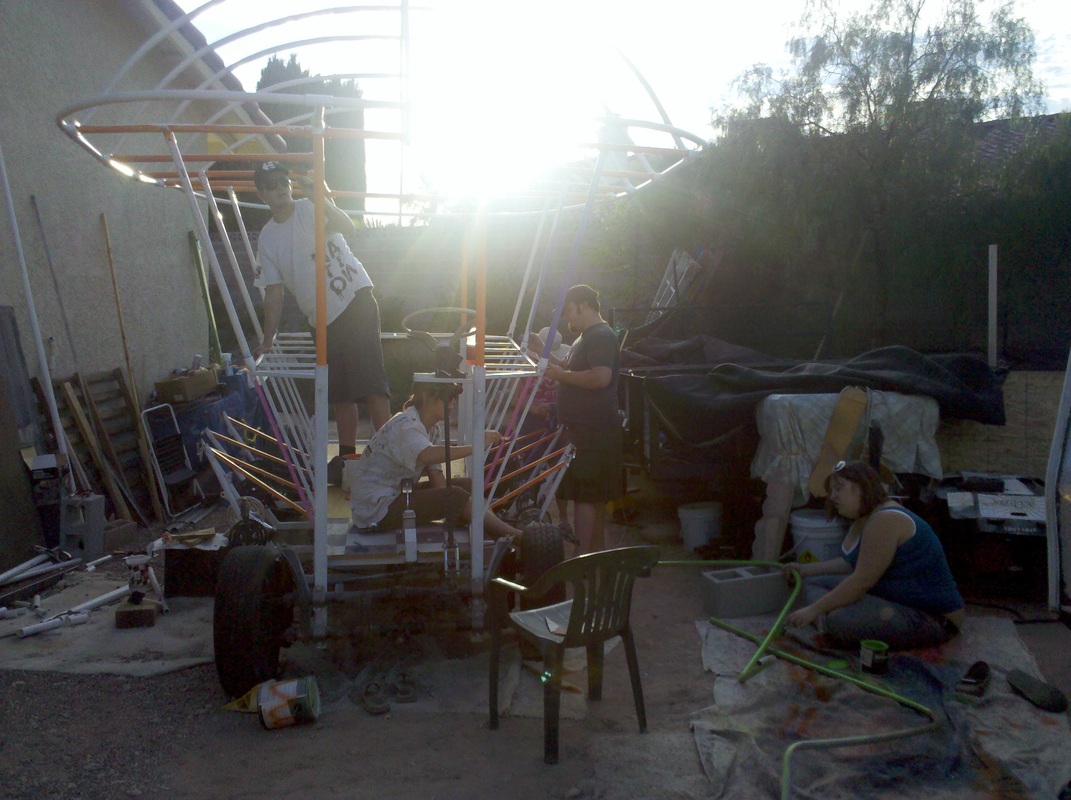
Painting party!
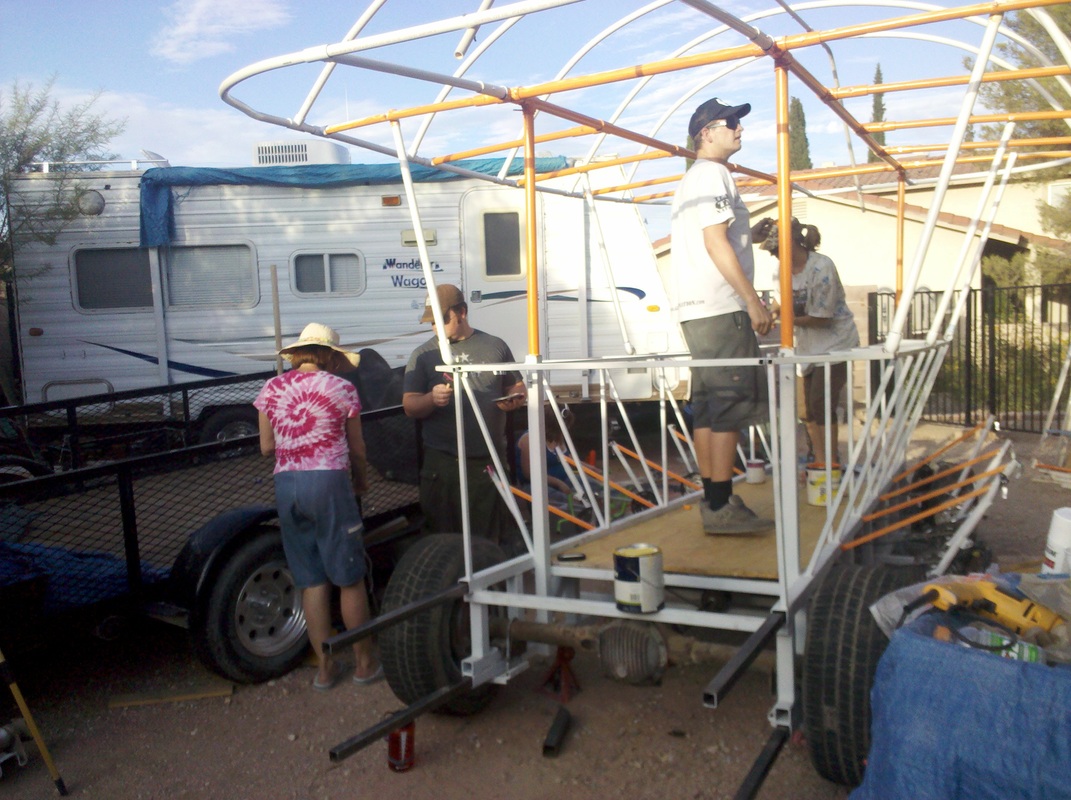
It had already been primered, but we just called up the gang and said, "Paint party!" The rest is history. (o: